Flutter Introduction
Flutter lets you create mobile apps that are pixel perfect for any device. Let's go over some basics together.

Flutter
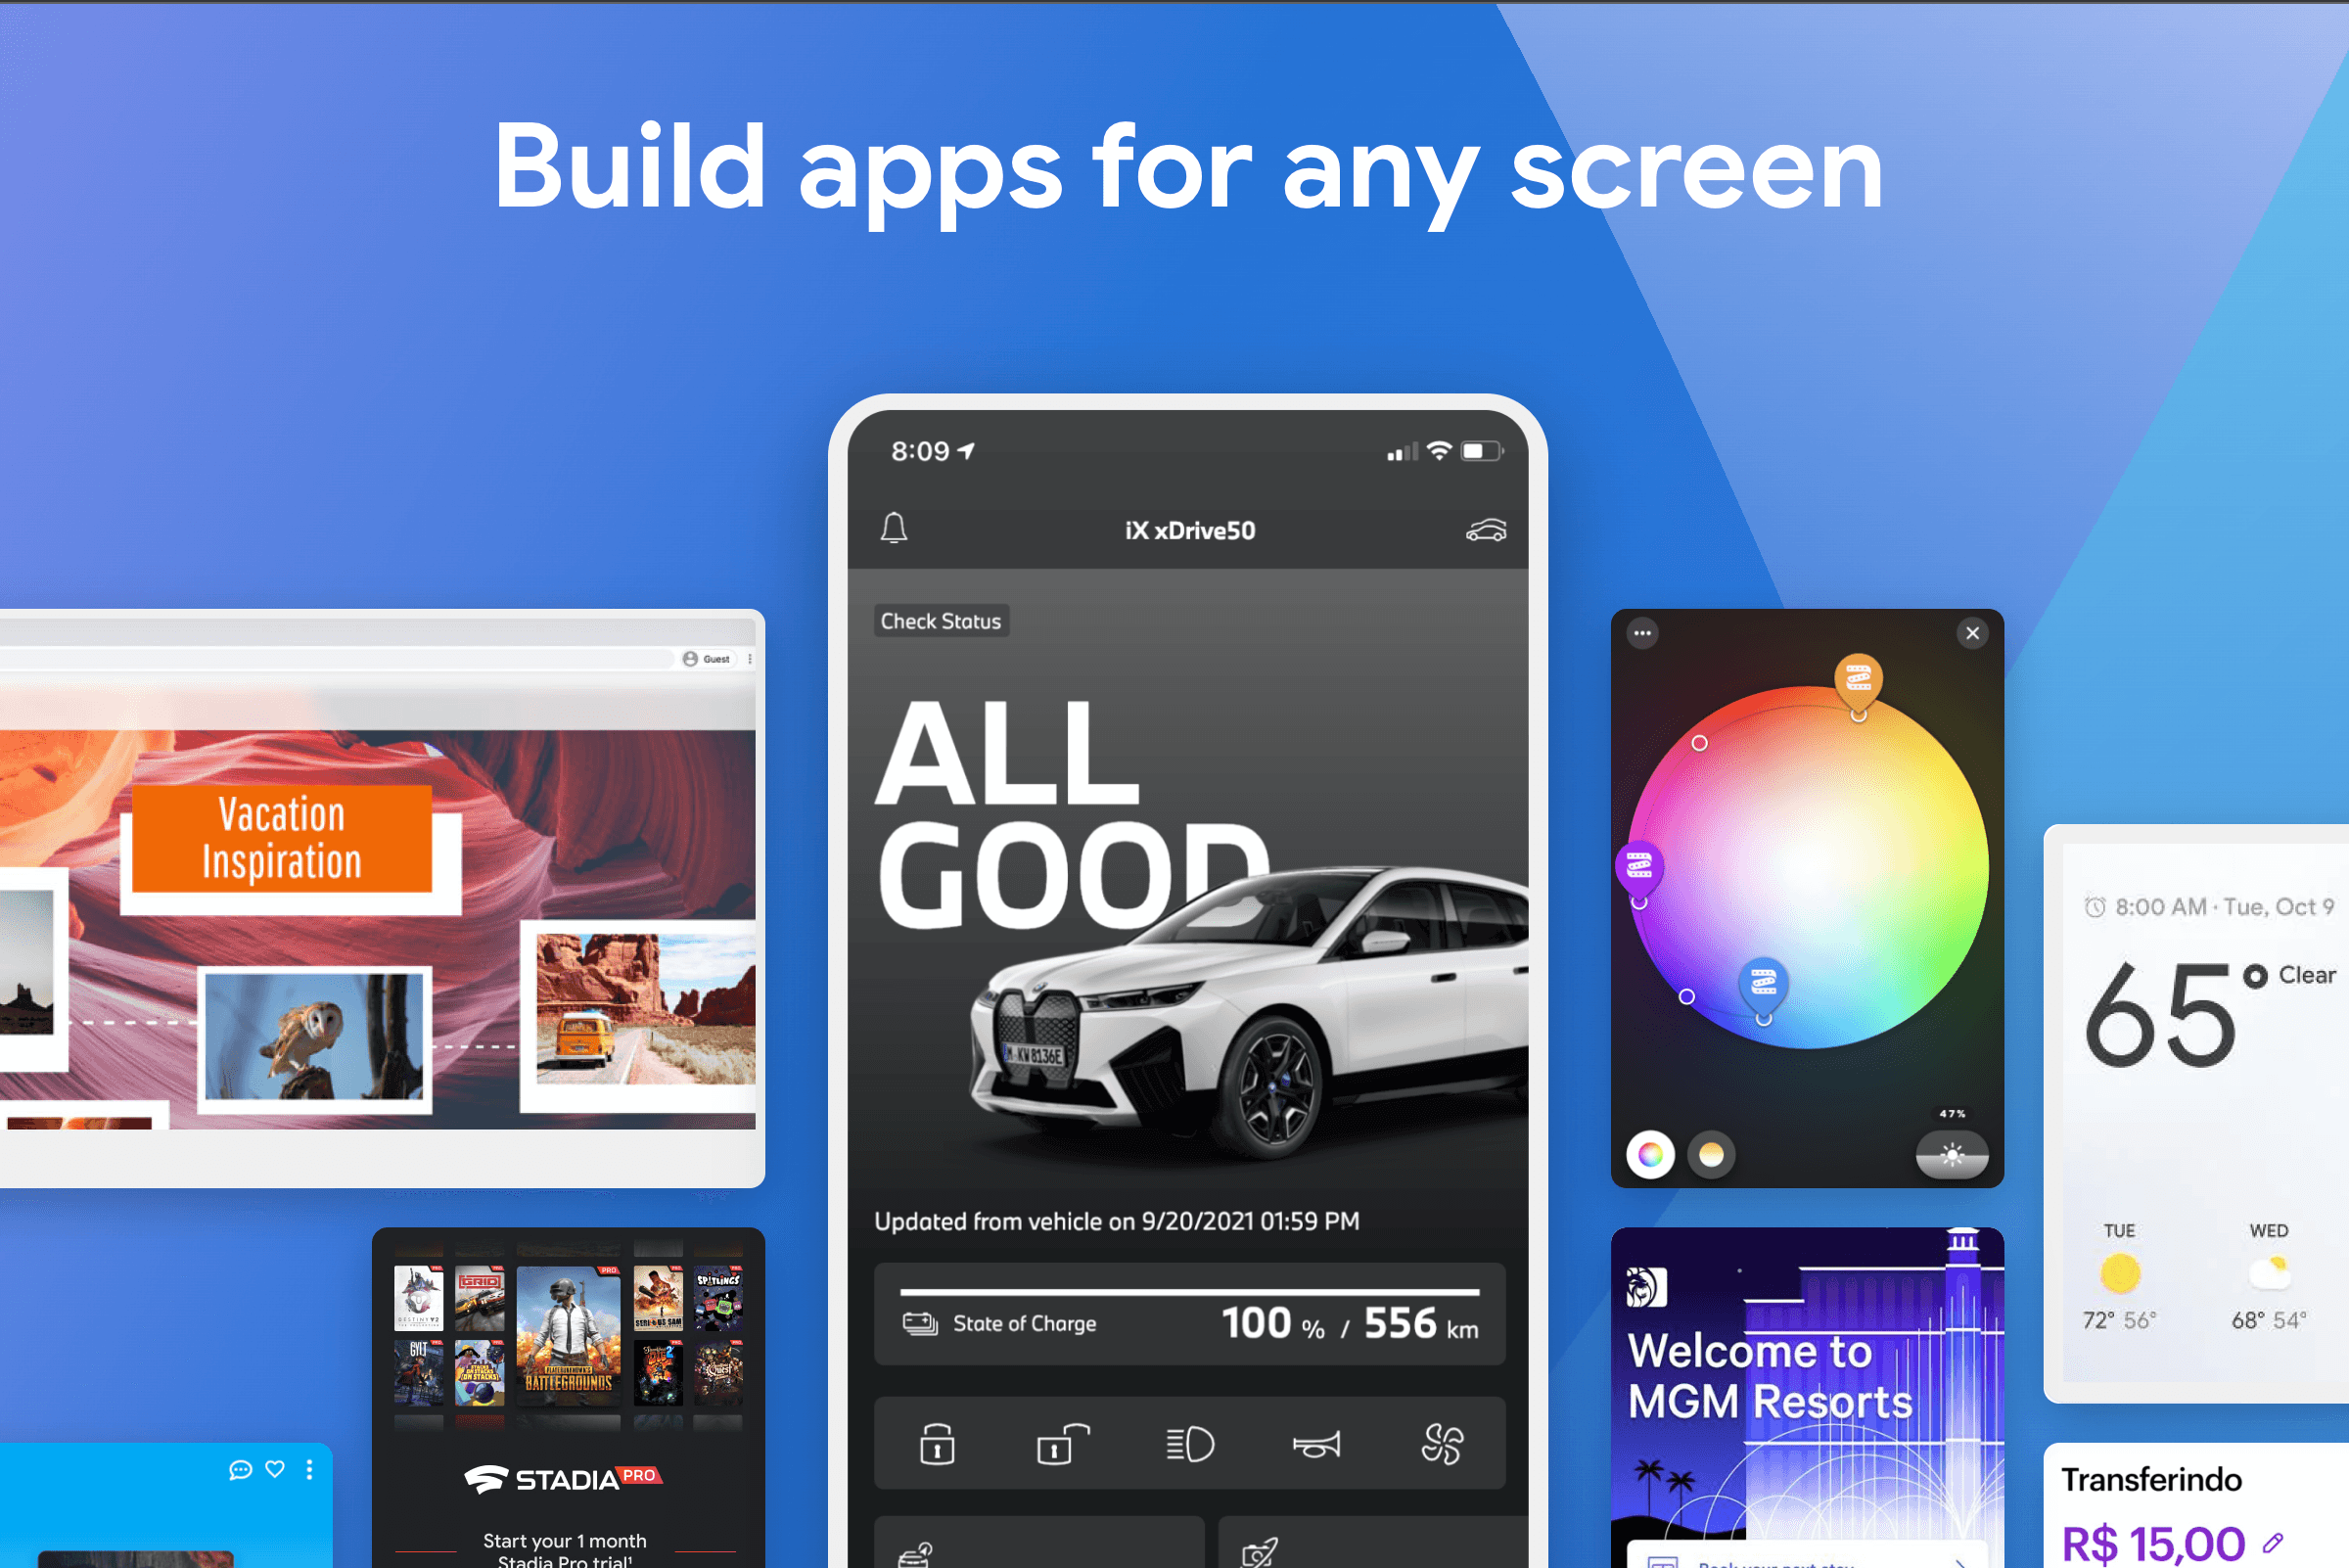
Flutter lets you design pixel-perfect mobile applications that are App Store and Google Play ready. Code once in Dart and ship to iOS, Android, web, and desktop — all from a single codebase. Unlike React Native, which leans on native platform components, Flutter renders its own widgets through its Impeller or Skia engine.
The result: your UI looks and behaves consistently across devices and OS versions.
Installation
Install Flutter from the official docs for your OS: flutter.dev/get-started/install
After installing, verify everything is wired up:
flutter doctorflutter doctor checks for the Android SDK, Xcode (on macOS), connected devices, and any missing components. Fix the items it flags before moving on.
Create and Run Your First App
Create a new project:
flutter create my_app
cd my_app
flutter run
Flutter starts a DevTools server and launches your app on an attached device or simulator. While it's running, press r in the terminal to hot-reload changes and R for a full hot-restart.
Project Structure
A freshly created Flutter project looks like this:
my_app/
  android/        # Android-specific files
  ios/            # iOS-specific files
  lib/
    main.dart     # Entry point — everything starts here
  pubspec.yaml    # Dependencies and assets (like package.json)
  web/            # Web target files
You'll spend almost all of your time inside lib/. The pubspec.yaml is where you declare packages and register image/font assets.
Everything Is a Widget
The core Flutter mental model: everything is a widget. Buttons, text, padding, layout columns, even the app itself — all widgets. You compose a UI by nesting widgets inside other widgets.
There are two kinds:
StatelessWidget
A StatelessWidget is rebuilt with the same output for the same inputs. Use it for purely presentational components that don't hold any mutable data.
import 'package:flutter/material.dart';

class Greeting extends StatelessWidget {
  const Greeting({super.key, required this.name});

  final String name;

  @override
  Widget build(BuildContext context) {
    return Text(
      'Hello, $name!',
      style: const TextStyle(fontSize: 24),
    );
  }
}
StatefulWidget
A StatefulWidget pairs with a State object that can call setState() to trigger a rebuild. Use it when the widget needs to track changing data.
class CounterPage extends StatefulWidget {
  const CounterPage({super.key, required this.title});
  final String title;

  @override
  State<CounterPage> createState() => _CounterPageState();
}

class _CounterPageState extends State<CounterPage> {
  int _count = 0;

  void _increment() {
    setState(() {
      _count++;
    });
  }

  @override
  Widget build(BuildContext context) {
    return Scaffold(
      appBar: AppBar(title: Text(widget.title)),
      body: Center(
        child: Text(
          '$_count',
          style: Theme.of(context).textTheme.displayLarge,
        ),
      ),
      floatingActionButton: FloatingActionButton(
        onPressed: _increment,
        tooltip: 'Increment',
        child: const Icon(Icons.add),
      ),
    );
  }
}
When setState() is called, Flutter schedules a rebuild of that widget's subtree. Only the widgets that actually changed are re-rendered — the diff is handled by the framework automatically.
A Full Runnable App
Here's the rest of main.dart for the counter app. Add CounterPage from above to the same file:
import 'package:flutter/material.dart';

void main() => runApp(const MyApp());

class MyApp extends StatelessWidget {
  const MyApp({super.key});

  @override
  Widget build(BuildContext context) {
    return MaterialApp(
      title: 'Counter Demo',
      theme: ThemeData(
        colorScheme: ColorScheme.fromSeed(seedColor: Colors.deepPurple),
        useMaterial3: true,
      ),
      home: const CounterPage(title: 'Counter'),
    );
  }
}
MaterialApp wraps your app and sets up theming, routing, and localization. Scaffold gives you the AppBar, body, and FAB slots — the Material Design page skeleton.
Layouts: Row, Column, and Stack
Flutter has no CSS. Layout is also done with widgets:
Column(
  mainAxisAlignment: MainAxisAlignment.center,
  children: [
    const Text('First item'),
    const SizedBox(height: 16),   // spacer
    const Text('Second item'),
  ],
)- Column — vertical axis
- Row — horizontal axis
- Stack — layers widgets on top of each other
- Padding / SizedBox / Expanded — spacing and sizing
Row(
  mainAxisAlignment: MainAxisAlignment.spaceBetween,
  children: [
    const Icon(Icons.home),
    Expanded(
      child: Text('Takes remaining space'),
    ),
    const Icon(Icons.settings),
  ],
)
Navigation
Flutter uses a Navigator stack for routing. The simplest way to push a new screen:
// Push a new screen
Navigator.push(
  context,
  MaterialPageRoute(builder: (context) => const DetailPage()),
);

// Go back
Navigator.pop(context);
For larger apps, or anything with deep links, the Flutter docs recommend a routing package such as go_router over named routes.
Hot Reload vs Hot Restart
One of Flutter's best developer experience features:
| Command | What it does |
|---------|-------------|
| r | Hot reload — injects updated code, preserves state |
| R | Hot restart — full restart, state is reset |
| q | Quit the runner |
Hot reload is usually instantaneous. It's why Flutter prototyping feels so fast.
Packages
Flutter packages live on pub.dev. Add one to pubspec.yaml:
dependencies:
  flutter:
    sdk: flutter
  http: ^1.2.0        # HTTP requests
  shared_preferences: ^2.3.0  # Local key-value storage
Then run:
flutter pub getImport and use:
import 'package:http/http.dart' as http;

final response = await http.get(Uri.parse('https://api.example.com/data'));
print(response.body);
Running on Multiple Targets
flutter run -d chrome      # Web
flutter run -d macos       # macOS desktop
flutter devices            # List all connected devices
flutter build apk          # Build an Android APK
flutter build ipa          # Build an iOS archive (requires Xcode on macOS)
Next Steps
- Flutter Widget of the Week — bite-sized YouTube series covering individual widgets
- pub.dev — the package registry
- Flutter cookbook — practical recipes for common tasks
- DartPad — run Dart/Flutter in the browser, no install needed
Flutter's biggest strength is how much you can build with a single skill set. Once you're comfortable with widgets and state management, the same knowledge scales to iOS, Android, web, and desktop.
Learn more at flutter.dev.